Accessing and Installing Your Template
Accessing and Installing Your Template
Your template comes with a 3-month trial of the site so you have time to edit it for free before you sign up for your paid plan with Squarespace. A paid plan is required to publish the site.
Transferring the template to you (Installation)
You will receive an email from both Squarespace and Carly Soper Design with the invitation to access the template. (The email is sent to the address you purchased with.) Please click the link and accept the invitation as soon as possible so the site can then be transferred to you as the new owner.
After you accept the invite, you can log in to your existing Squarespace account (or sign up if you’re new.) If you are new, you’ll be taken to the Welcome page for the website once signed up and can edit it right away. The site will also appear in your websites dashboard and show that you have admin access.
Once you are an administrator of the site, I can then transfer the site ownership to you and remove my own access. There’s nothing else for you do to except start working on your site!
Getting oriented
Once you accept the invite and log in, you’ll be taken to the Welcome page.
To edit the website, click on ‘Website’ in the left panel of the Welcome page, or click the black ‘Edit Site’ button at the top right of the screen.
Site settings vs account settings: If you are seeing the screenshot below of the Welcome page, you are in the site-specific settings.
To leave this website-specific area and go out to a general dashboard where you can access any website you own, as well as your personal account settings, click the small circle icon that has your initials in the bottom left.
The gear icon at the bottom right contains website settings specific to this site only, including billing and permissions for this site.
Again, for general Squarespace account settings, click your initials icon to be taken to your account dashboard.
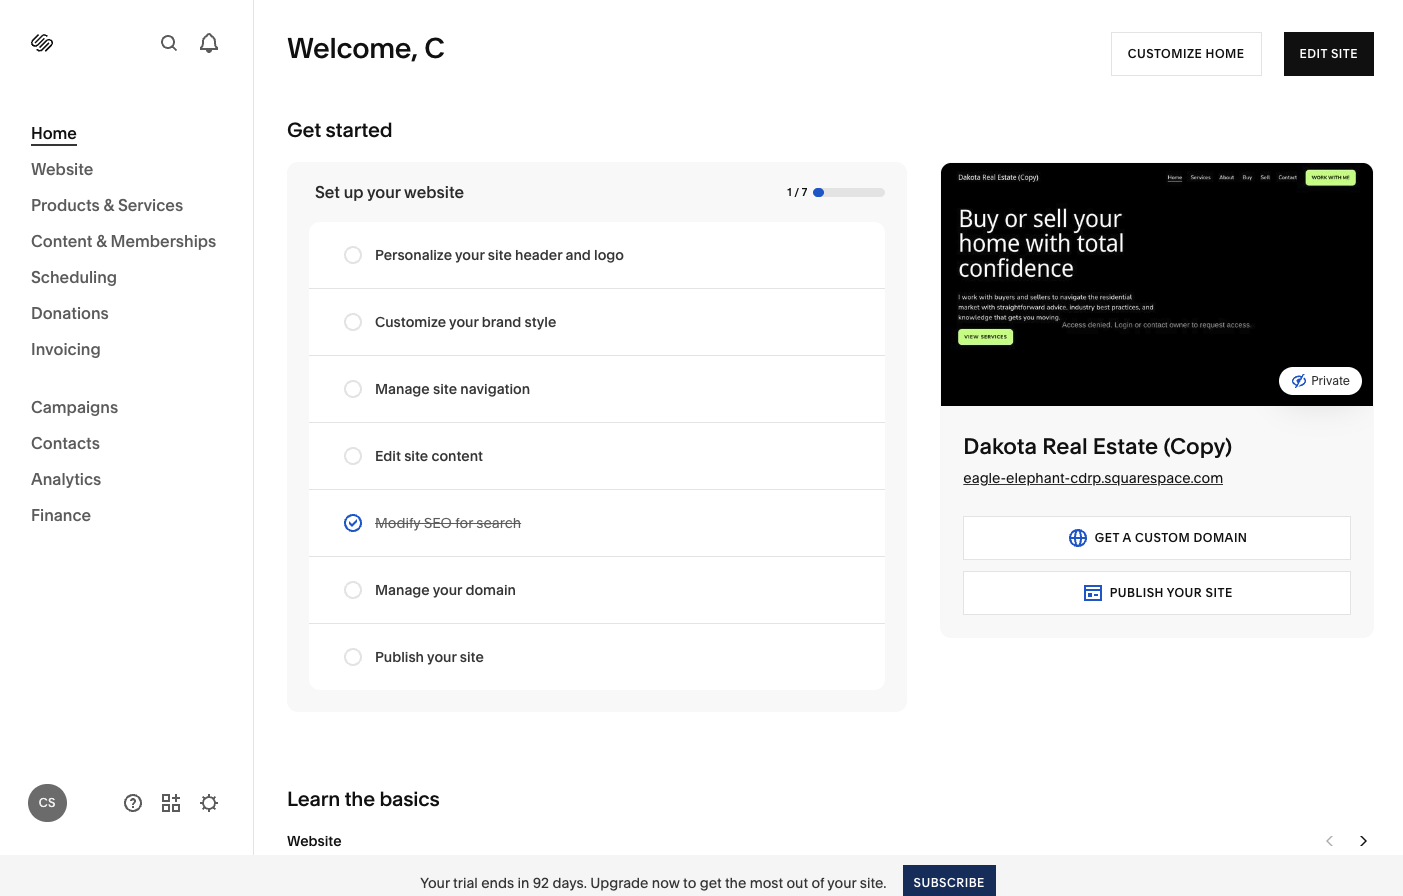
Squarespace Welcome PageIf you already have a website
Important! If you already have a website that’s connected to the domain name you want to use, you’ll need to disconnect that domain before you can apply it to your new website. This is something Squarespace support can help you with if you’re having trouble, or you can book paid support time with me to walk you through it.
Learn more about domains from Squarespace’s help center.
Squarespace may allow you to get a prorated refund if you have yearly billing on your old site and then set up yearly billing for your new one, but it’s not guaranteed. Contact customer support to request it.
Design Settings
https://support.squarespace.com/hc/en-us/articles/205815788-Making-style-changes
In Squarespace, you customize Site Styles or individual Section Settings.
Site Styles: Changing your sitewide design settings
Open any page in your dashboard and click Edit in the top-left corner.
Click the Paintbrush icon in the top-right corner to open the Site Styles panel.
Adjust Fonts, Colors, or Buttons. Any changes here will apply sitewide.
Here is how to dive into the specific design controls:
Section Settings: changing the settings within a specific section only:
Instead of changing the whole site, you can edit the design of individual page sections:
Click Edit on the page and hover over the section you want to change.
Click the pencil icon (Edit Section) that appears in the top right of the section.
Under Colors, you can choose a different Color Theme (Dark, Light, or Bright) from your palette. If you want to go a step further you can click the pencil icon on the theme to edit its colors.
You can also change the background image or video, adjust the section height, or toggle content width.
A note on mobile layouts:
If you start changing things in the layout, just be sure you double-check your mobile layout before saving! When moving things on the desktop layout, the mobile layout can shift until you edit it. Always do that part last.
Helpful Tips
There are several things you’ll need to adjust after getting your template, like the name of your website, for example. Here is information on how to plug in your own information. If you need more help, please visit Squarespace’s tutorials.
Helpful tips to speed up your workflow
To quickly get into edit mode, just double click an element in the layout.
Hitting cmd/ctrl A inside a text box selects everything in the box.
Changing your site title
First you’ll want to make sure your new website is titled properly. The name is changed by editing it in the header of the website layout itself:
https://support.squarespace.com/hc/en-us/articles/205815838-Adding-a-site-title
Changing social links
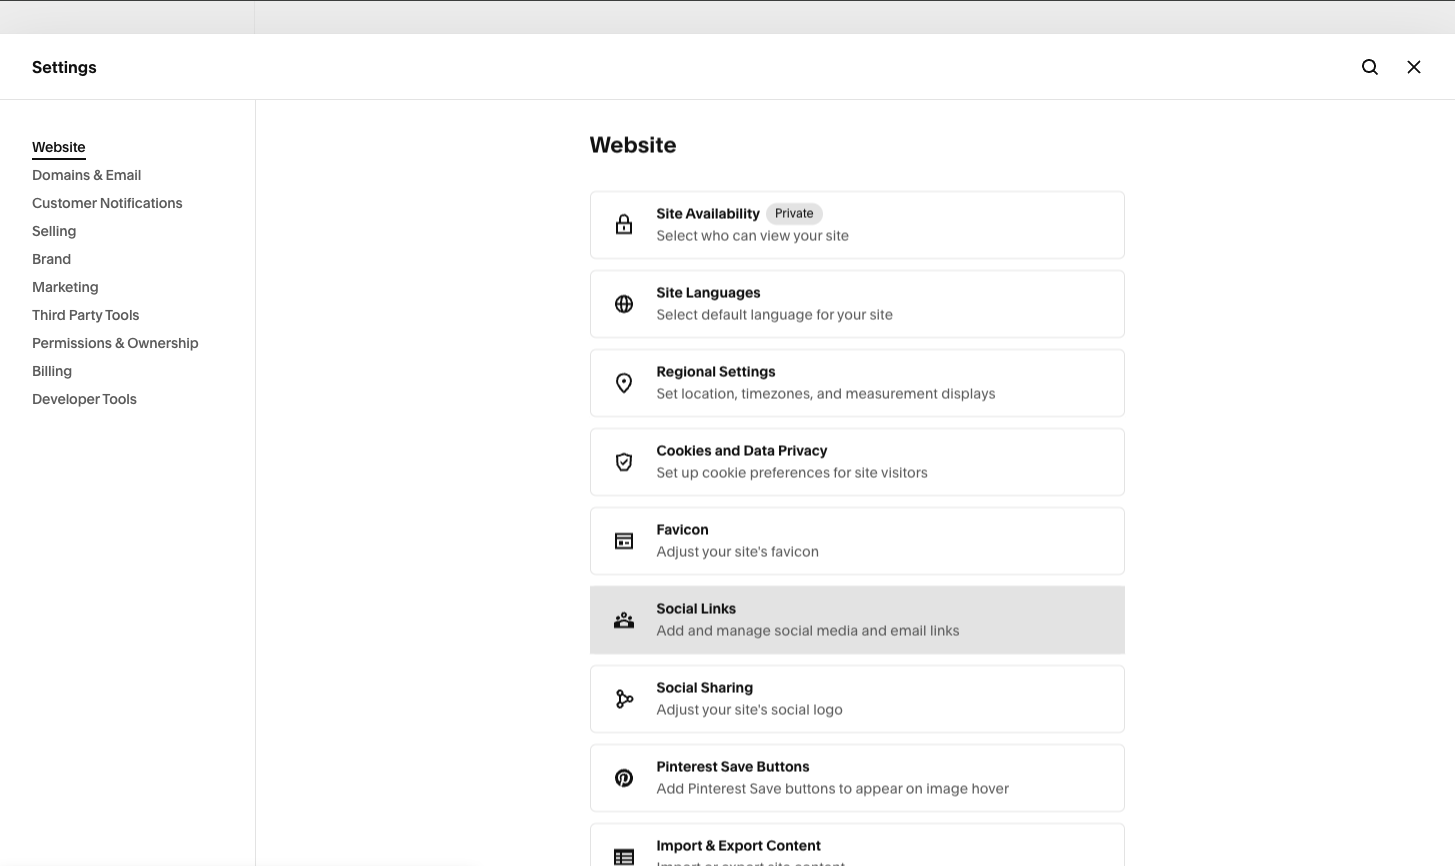
To add your social links to the website, click the gear icon (lower right of the left side panel) for website settings and go to Social Links. Type in the url for each profile. (instagram.com/myprofile) (facebook.com/myprofile)
Then, whenever you add a social links block to your design, they will show up and be automatically linked to your profiles.
Cmd/Ctrl Z is a good friend.
When you’ve made a mistake, hit cmd-z on a mac or ctrl-z on a PC to undo you last step(s). It’s saved me a bunch of times.
Connecting forms and newsletter blocks
Remember to look at all the settings in your email form blocks and newsletter blocks and change the form names and email address to your own.
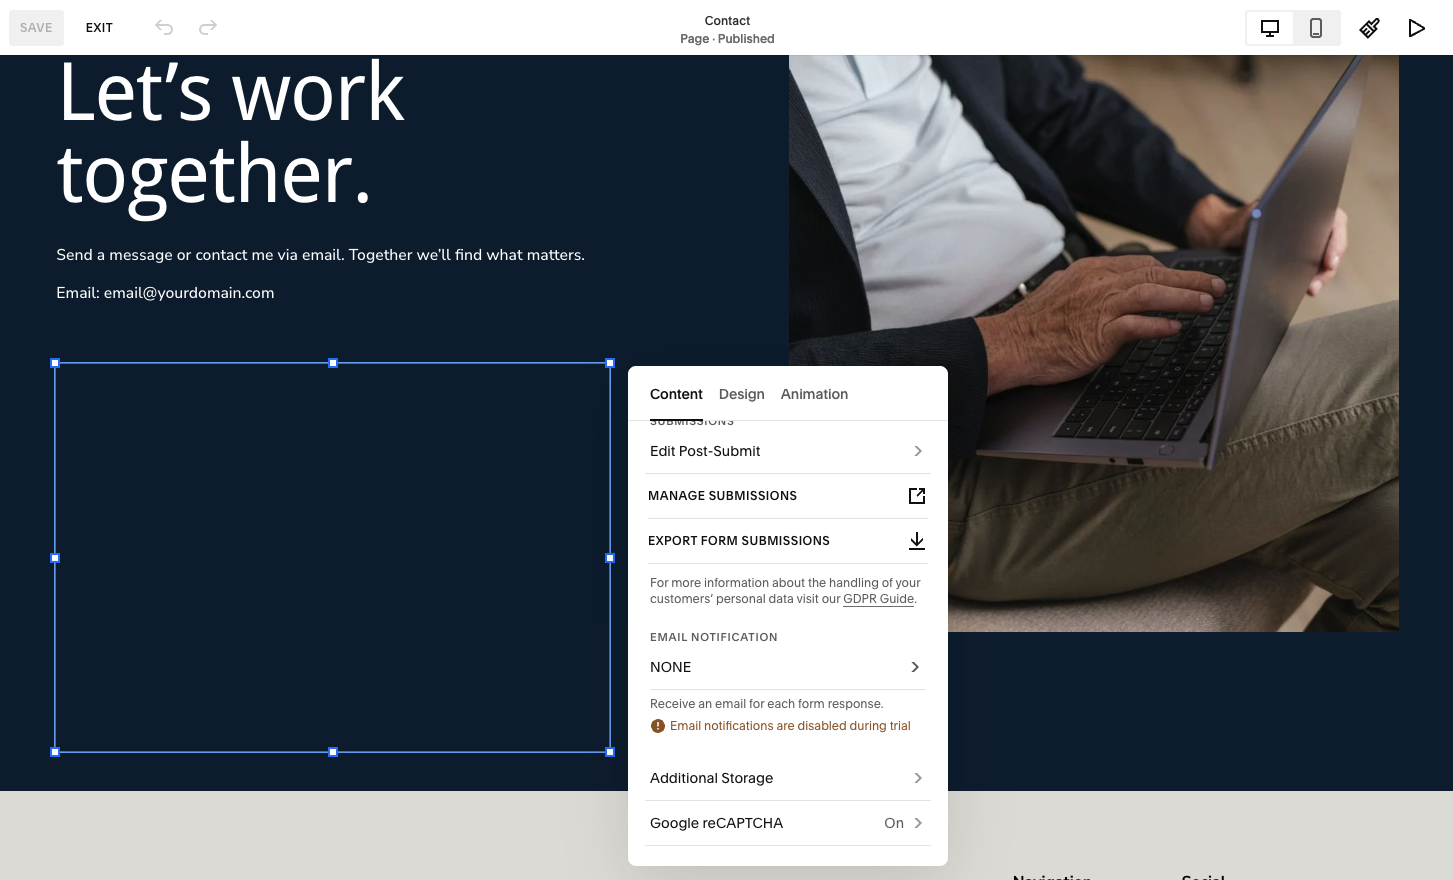
Email Forms: The email form will only display once you add your email address. Click the red outline of the email form box to edit it, then under Content, where it says Email Notification: NONE, click there to add your email address. Then click Exit, and you’ll see the form show up so you can further edit it.
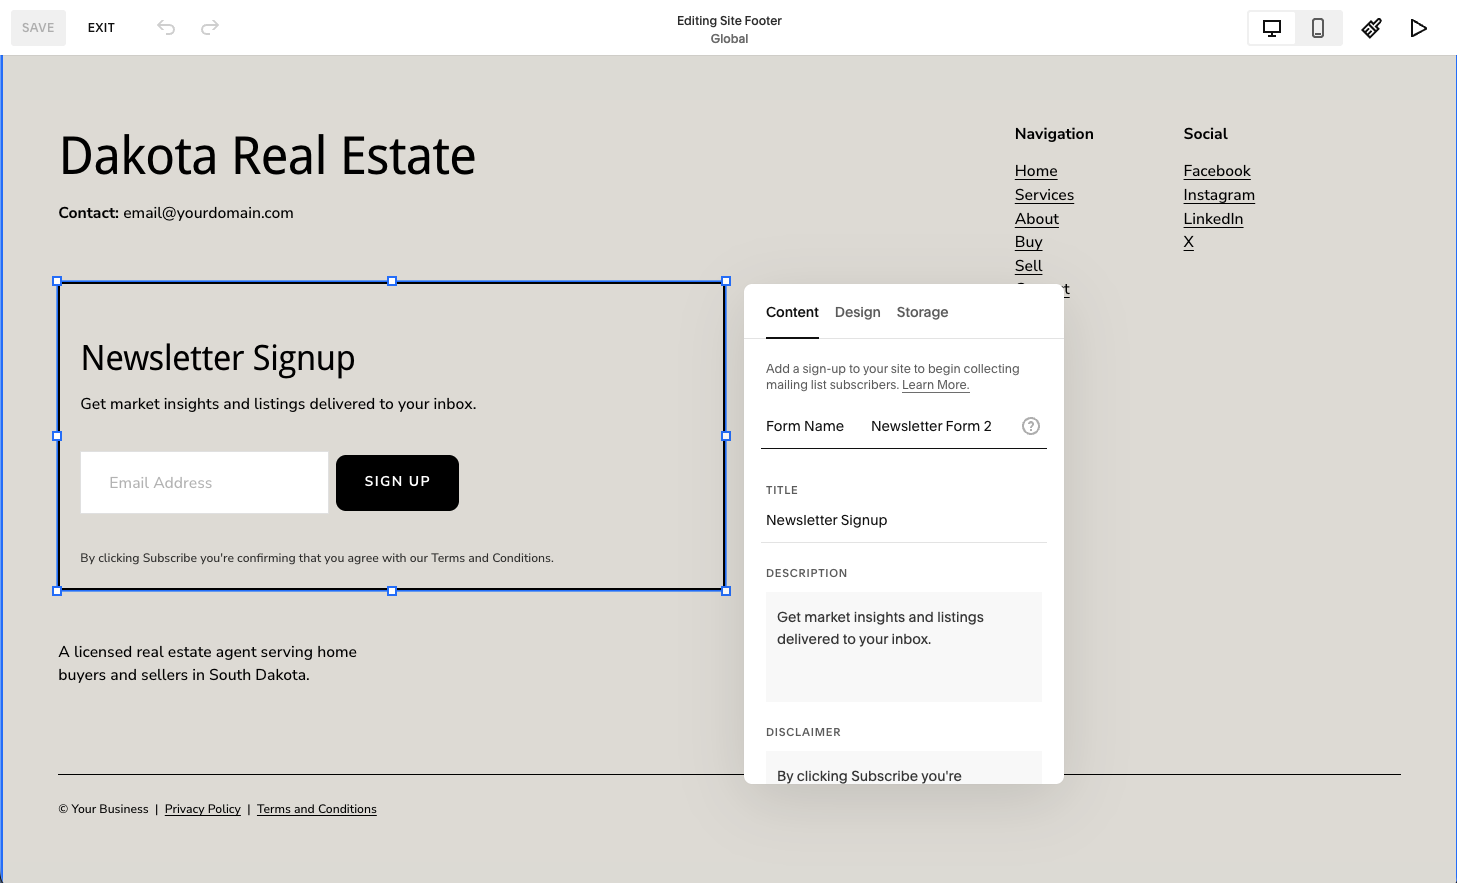
Newsletter Blocks: You’ll want make sure to name your Newsletter form something meaningful to you or something you’ll recognize when you get a form submission sent to your email. In the screenshot below, you would change the Form Name from “Newsletter Form 2” to Newsletter Signup Form.